We have a few things we love that we do ourselves around here. The chickens started laying eggs finally, and we’re looking to boost production with another set of chicks this spring. We still have to buy due to our high egg consumer, but it’s only once every couple weeks when we need to buy. With warmer weather and longer days, that won’t be necessary soon. Another item that has taken off is our sourdough bread. It’s a staple in the house. We were buying bread but after the sourdough culture was reactivated this winter, we enjoy a fresh loaf every couple of days.
I’m not going to go into getting a sourdough starter going since there are hundreds of youtube videos on that, but I can recommend this YouTube Playlist. My bread recipe is a derivative from the French Guy’s methods as well. I diverge in time, temps, and vessels, but the recipe ratios are still identical.
The one thing I will say is, if you do get a starter going, if you use a strong protein based flour (avoid all purpose in my opinion) I would recommend rye flour. I experimented with about everything from all purpose to rye and found that bread flour is a good medium to get it going but rye is the ultimate fuel once it’s up and running. The best part is that it doesn’t taste like rye at all (though I do like rye bread). Wheat, unless you love wheat, a wheat start absolutely imparts flavor, and otherwise is a great fuel too. I just don’t prefer that strong earthy flavor, I prefer a tart sourdough flavor. The best part of all of this is that it’s made up of only water and flour. You can’t really beat that when it comes to simple ingredients.
All that being said, once you have a starter, this is my recipe and procedure. (Sorry to everyone who hates to do things by weight, but it’s just so much easier):
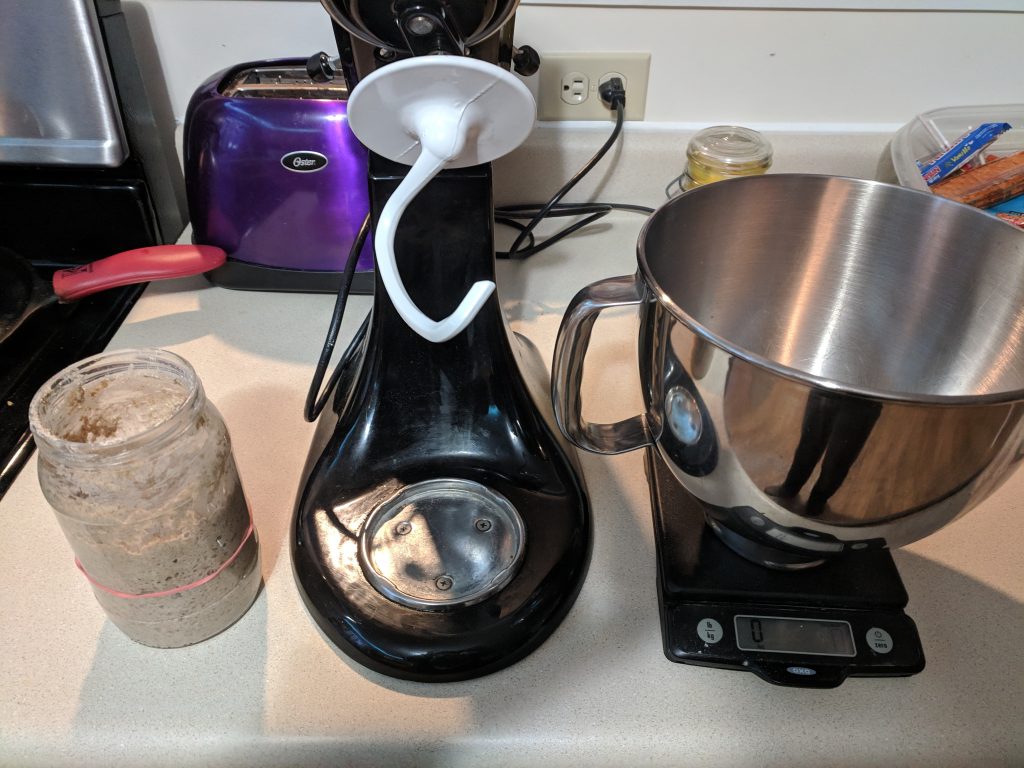
I maintain my starter with 80g of rye and 80g of water each day, maybe every other in winter. When I’m ready to bake, I scoop out 160g of the starter (80g+80g, so it’s always the same amount).
- 160g Starter
- 320g Water
- 480g Bread Flour (Do no use all purpose)
Day One – Prep Day:
1. Combine all three ingredients into a mixing bowl. I put them right in the mixer’s bowl.
2. Mix all the ingredients until a ball is formed and stop. Basically make sure there isn’t any loose flour.
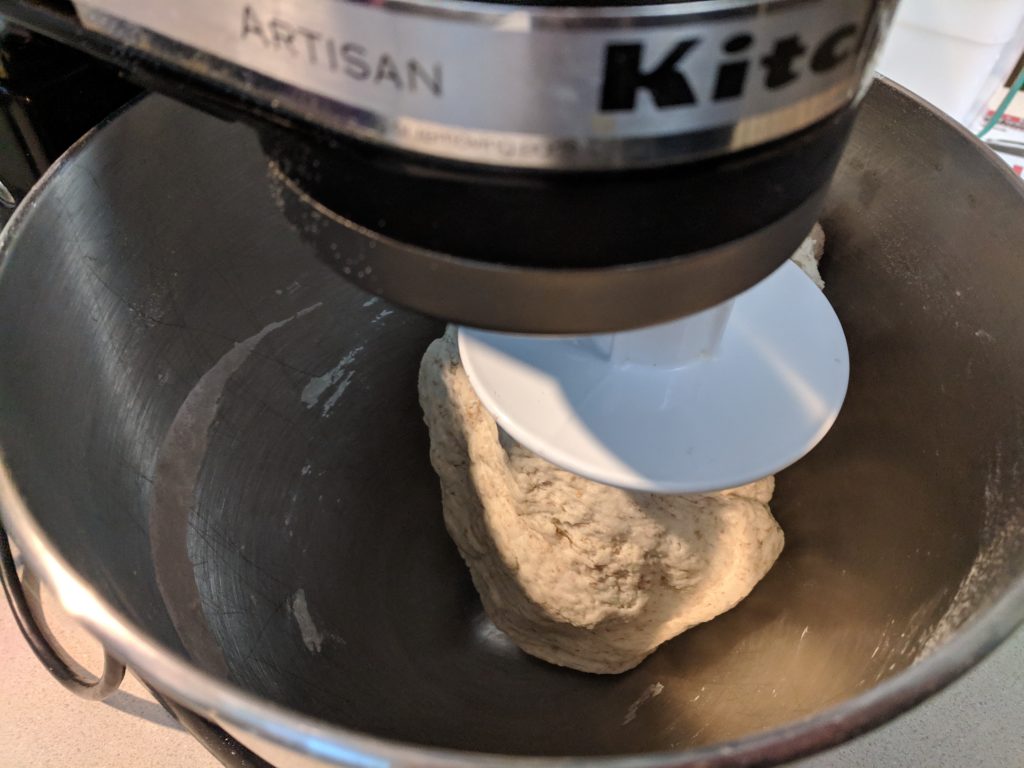
Roughly combined
3. Rest 1 hour
4. Dissolve about 10g of salt in a tsp or two of water and toss that in with the rough dough ball and start the mixer
5. Using the dough hook, let it run for 10 minutes. I’m no sucker, I’m not hand kneading.
6. Throw the ball into a contain that it can double in. I put mine in a big gladlock thing and proof it for four hours.
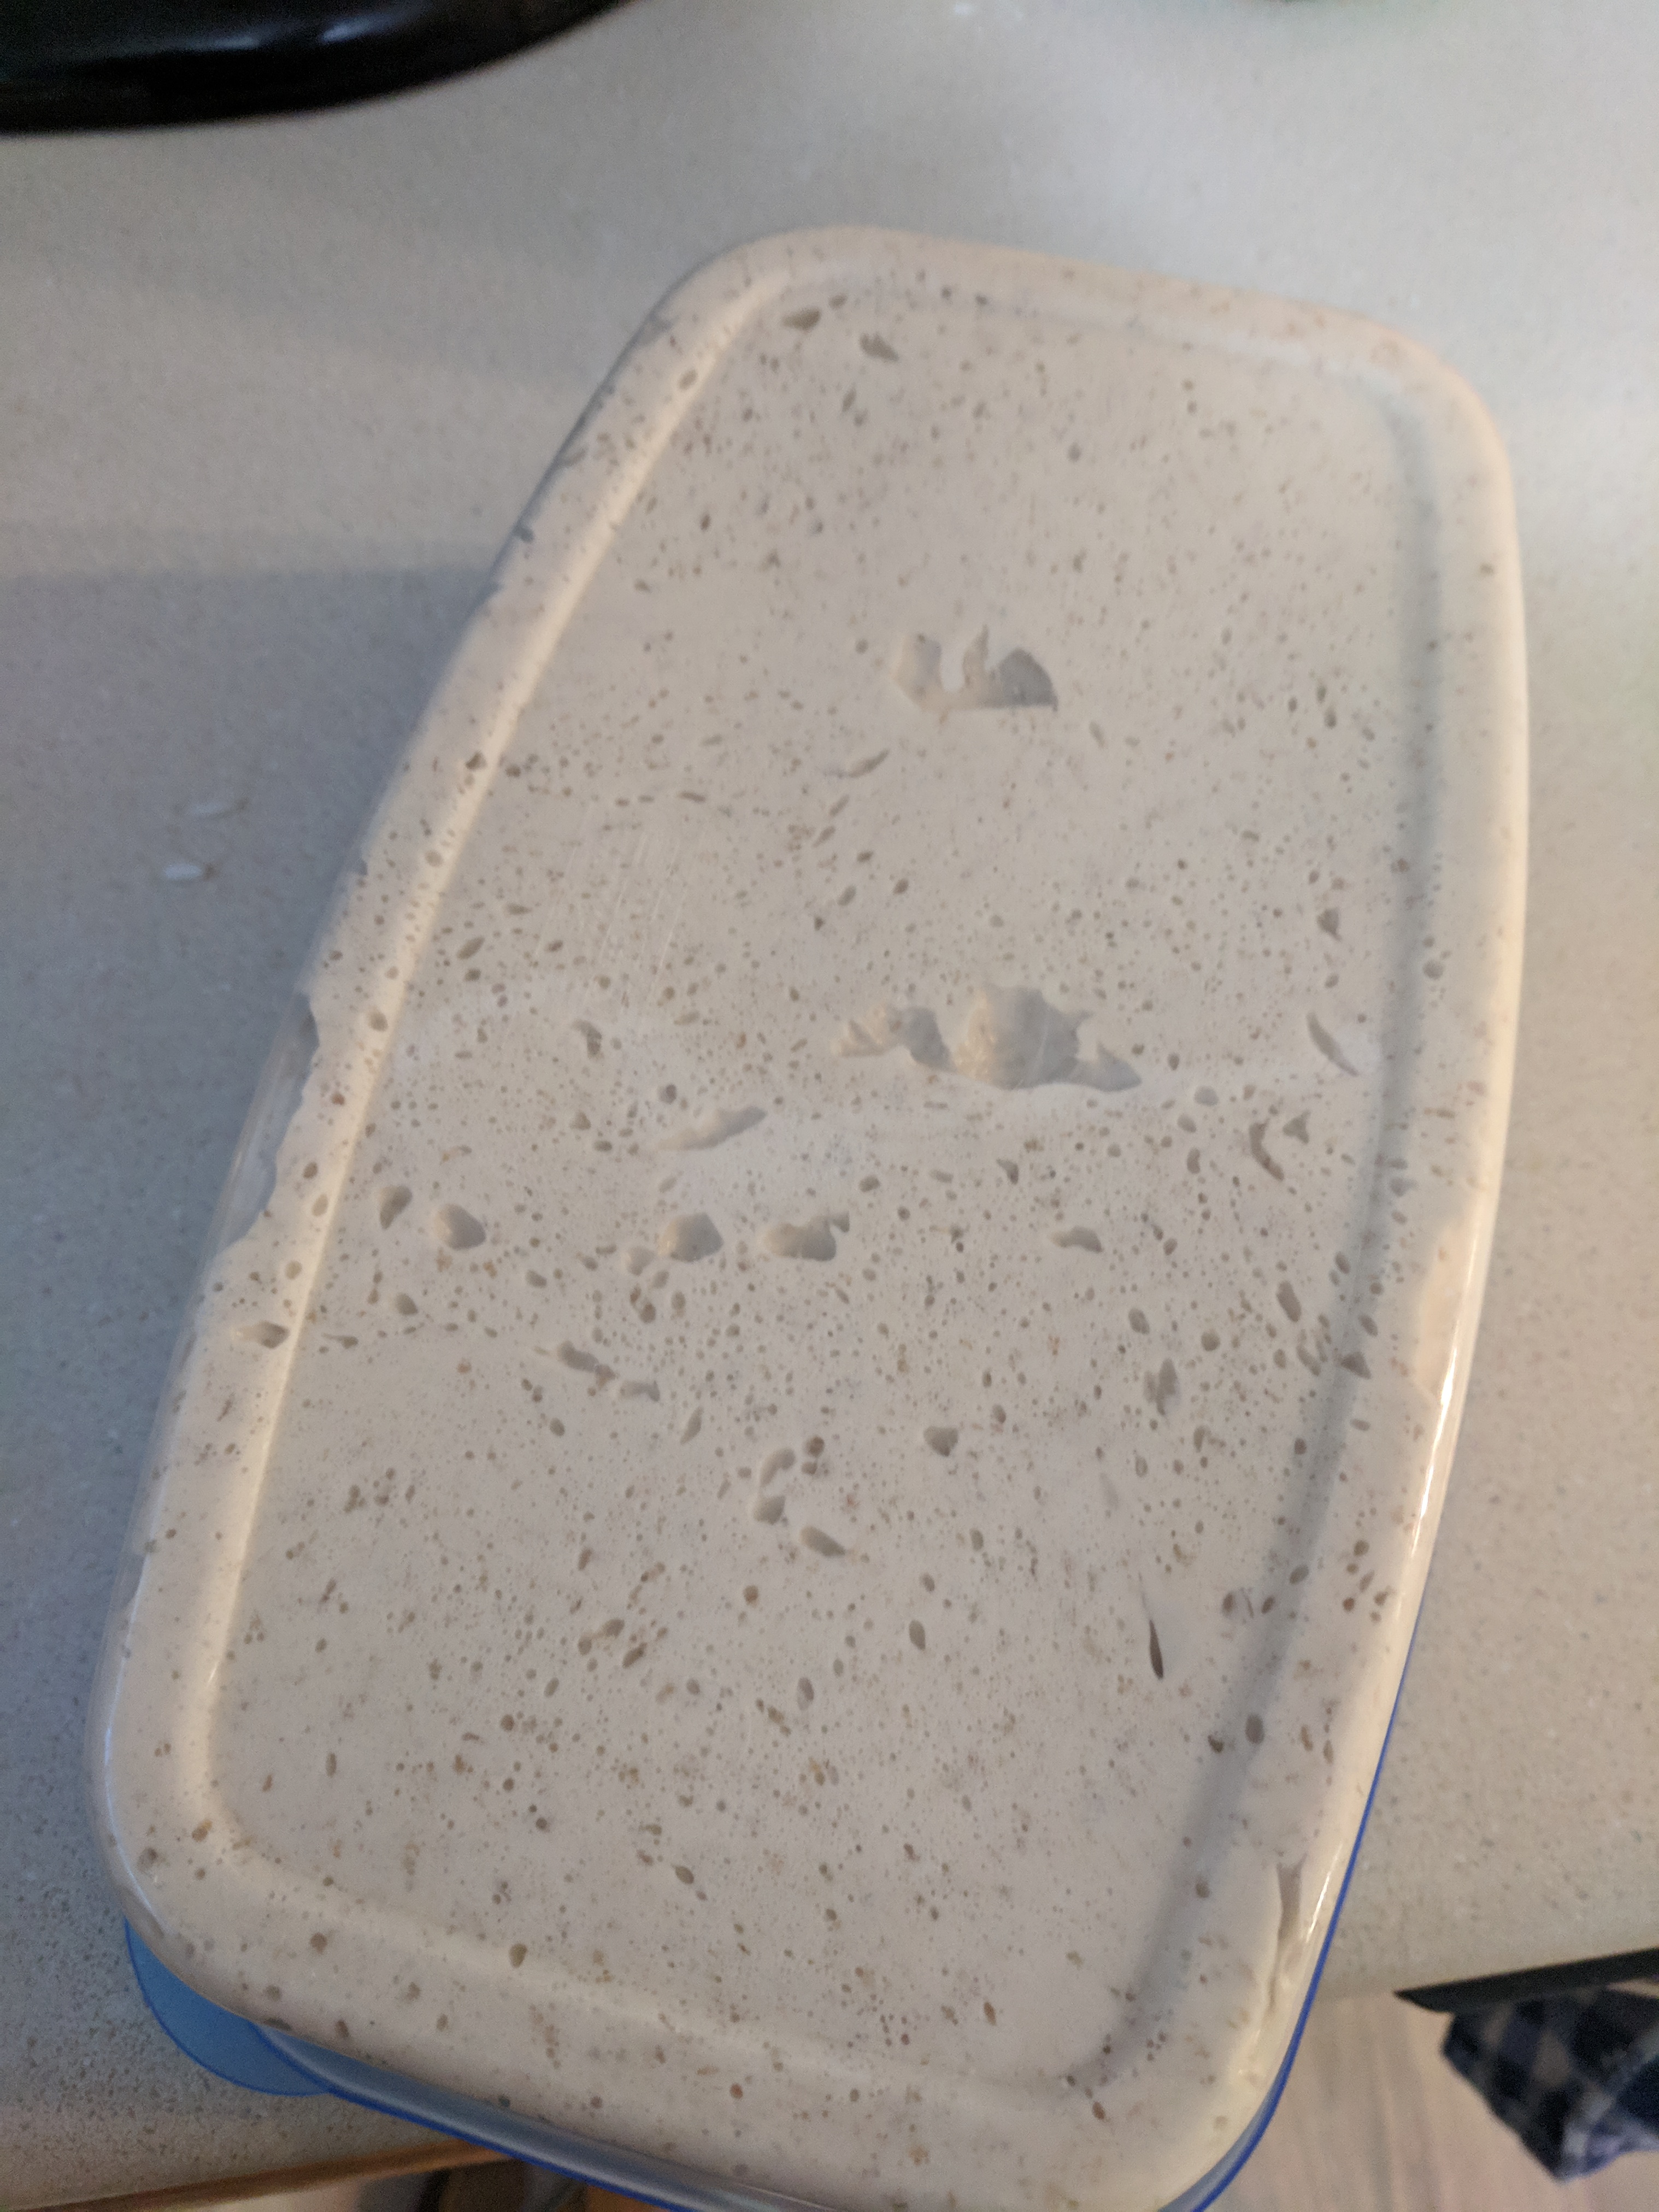
7. Toss it in the fridge until the next day.
Day Two – Bake Day:
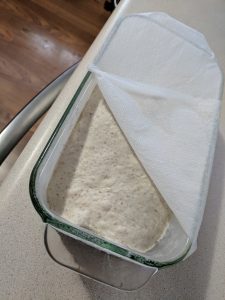
1. Pull at least two hours prior to baking. I’ve accidently left mine on the counter until the top blew off 6 hours later and it still turned out fine.
2. Thoroughly butter up a bread pan and pull your expanded dough out of the contain. Flour up your hands and a work surface. Punch out the air and work it into the shape of your bread pan (be sure to place the dough seam down).
3. Plop it into your bread pan and I let mine sit for 10-20 minutes until you see the top just start to rise again. Then I score it so it can steam freely. If you don’t score/slice the top you’ll get a blow out on the side.
4. Very loosely dome over some aluminum foil on the bread pan so the bread is covered. Try to seal it in the best you can, that steam action inside gives you a nice bouncy crust.
5. 1st half bake: 480 for 25 minutes (set a timer!)
6. 2nd half of bake: Remove the foil cover and continue to bake at 380 for another 25 minutes (set a timer!). The original directions were for 430 for the 25 but I like a slightly lower temp and sometimes pull it at 23 minutes. It’s nice and moist and really bouncy bread.
7. Pull the bread and put it on a cooling rack and don’t you dare cut into it until it’s completely cooled. It helps the bread keep longer and it won’t dry out so fast. Cutting it hot lets all that precious moister escape.
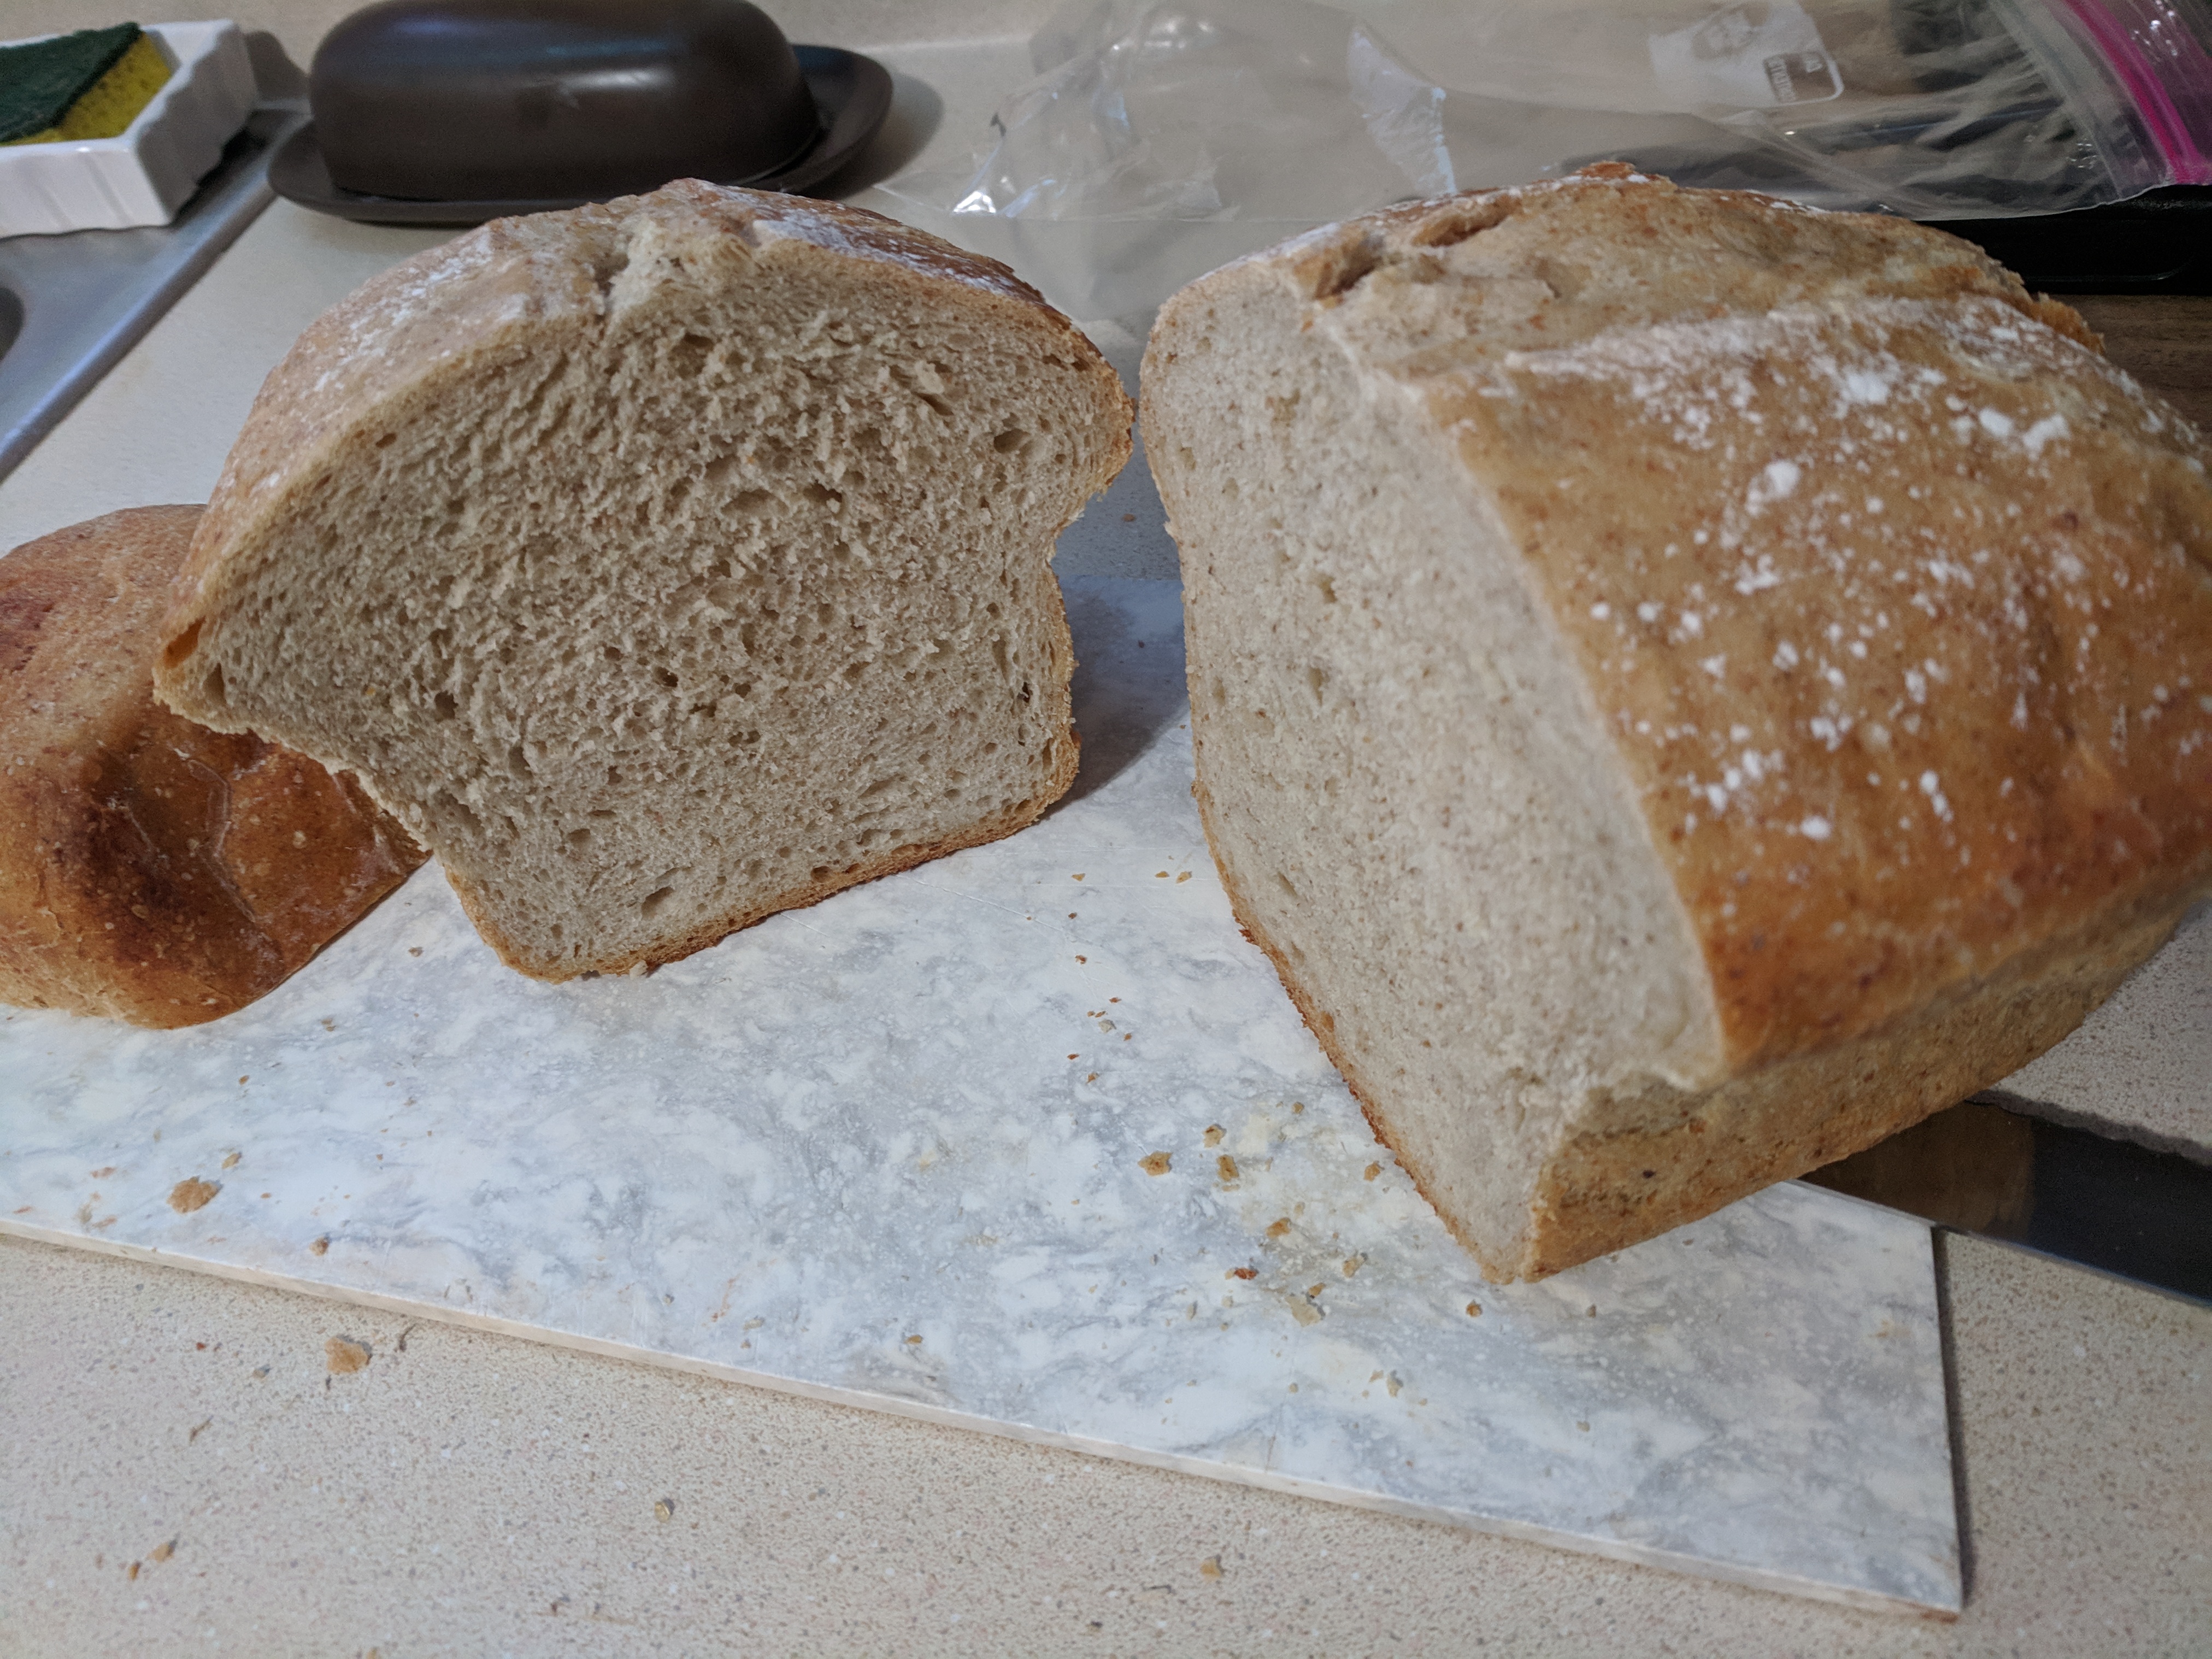
I know you’re going to cut your first hot loaf as soon as it comes out. It’s so good, but it’s going to dry out, so have a plan or some friends to share it with that day.
Pro tip: If you aren’t going to eat the entire loaf in two days, I highly recommend cutting it in half and putting it in foil and a ziplock bag and toss it in the freezer. When you’re ready for the second half, just pull it so it can thaw and then back in the oven at 325 for 5ish minutes. It will be as good as new. Otherwise the bread gets stale so fast. The pains of having fresh, homemade, no preservative bread, but so worth it.
Enjoy!
If you are desperate to get going on sourdough and are having trouble getting a starter going, shoot Beth a note on Facebook and I’ll send some dried starter to you with some instructions :).
As previously blogged, this also makes great pizza dough! I cut my dough with 540g of bread flour into about 140g of all purpose flour and 300g bread flour. It makes a much stickier dough, but found that it’s a better pizza dough. You won’t be able to toss it and I find that spreading it over a well buttered cookie sheet works great. It will just stretch into position and you can top it how you like.